Cubbies & Tags
Once your team is created, organizing your posts into cubbies and tags is the best way to stay organized.
Within a team, you can make multiple cubbies each for different research topics. Within these cubbies, you can further organize content by creating tags.
Example
- Team: a16z Research Team
- Cubby: AI Investing
- Tags: early-stage, late-stage, public
- Cubby: BioTech
- Tags: early-stage, late-stage, public
- Cubby: AI Investing
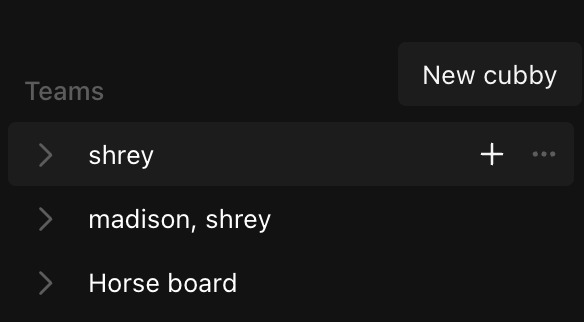
How to create a cubby
- After creating your team, hover your mouse over the team name to reveal and select the + button.
- Enter a name for your cubby.
- Optional:
- Toggle on “Hide from team” to make the cubby private and exclusive to you.
- Toggle on “Auto-add entire team” to automatically include all team members in your new Cubby.
- Select “Create cubby” to finalize the creation of your cubby.
- Your cubby will now be accessible under your team on the left sidebar.
Creating a tag
Anywhere you see the # icon, you can edit tags.

- From the posts feed, click on the tag icon, choose an existing tag or enter a new tag name, then press enter.
- Within a post, click the tags icon in the top right, select an existing tag or enter a new tag name, and press enter.
- To tag a highlight, select any highlight, click the tag icon, choose an existing tag or enter a new tag name, then press enter.
- To tag a note, simply include the #tag-name in your note’s body, and the note will automatically be tagged.
Its important to note that posts, highlights, and notes can be part of unlimited tags. It’s not like a folder structure where you have to pick one tag for an item to live in.
Viewing tags in a cubby
- Click on a cubby from your left sidebar.
- Select the tags icon at the top, below the tag name.
- Click on a tag to view all posts/highlights/notes within that tag.
- Right-click on a tag to perform bulk actions on the tag or create a cubby doc from the content within the tag.
